Denon DJ MCX8000 | How to Import and Analyze a Serato Crate for Engine
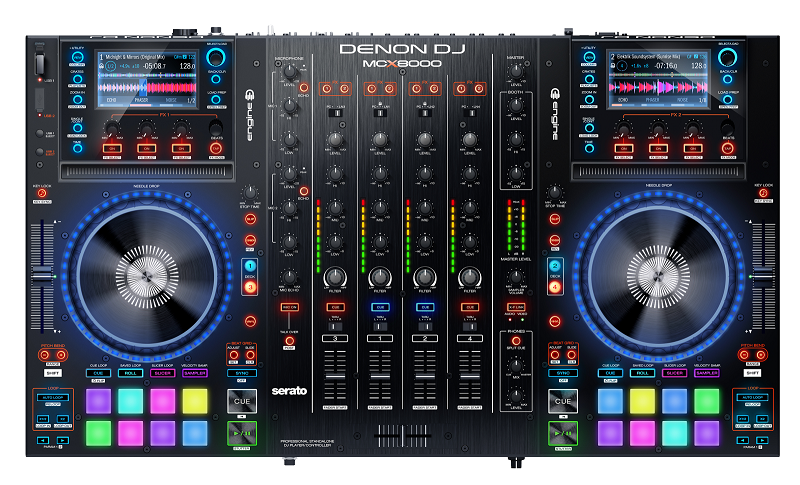
The Denon DJ MCX8000 is versatile standalone DJ player and controller. Engine is the exclusive revolutionary DJ software under the hood of the MCX8000 that enables you to perform without a laptop. This article walks through how to import your Serato crates and analyze them in the Engine software and then how to import your Serato crate onto a thumb drive for Engine use.
Contents
- Importing and analyzing a Serato crate in the Engine software
- Adding Analyzed Crates to a Thumb drive
- Using the Transferred Crates on the MCX8000
- Further Technical Support
Importing and Analyzing a Serato Crate in the Engine Software
- Open the Engine software, then open Serato DJ.

- Adjust the Engine and Serato DJ interfaces so that you can see them side by side on your computer screen.

- Select the Engine software and then scroll to the left hand side to where it says Engine Library.

- Under Playlist, right click it and select Create New Playlist. Name it to your liking. This is going to be your "Serato" crate.

- Select your Serato DJ software now and find the crate that you wish to import into Engine.

- We do not recommend dragging the actual crate into the Engine software. Instead, select all the songs in Serato DJ that you wish to import from your Serato crate to the Engine software. To select all of the songs in your Serato crate, perform the following steps:
- Mac users type COMMMAND + A
- Windows users type computer hit CTRL + A

- With your songs highlighted in Serato DJ, drag the songs into your Engine software under your New Playlist. Do not drag the songs onto the New Playlist name. Drag them right into the library list.

- Your Engine software should automatically start analyzing your songs. Please note that the Serato track that you just transferred from Serato, its Hot Cues will not appear in Engine until the track has been fully analyzed in the Engine software. If some of your songs are not analyzed by Engine, you can manually do it by performing the following:
- Select the song(s) that weren't analyzed.

- While the songs are highlighted, right click and select Re Analyze to analyze all of your songs.

- Select the song(s) that weren't analyzed.
Adding Analyzed Crates to a Thumb Drive
- Insert your USB thumb stick to an available USB port on your computer. Make sure your thumb drive is a FAT32. For Engine use, FAT32 thumb drives must be utilized. If your thumb drive isn't already FAT32 formatted, then I suggest following this tutorial on how to convert a thumb drive to FAT32.
- In your Engine software, you should see a thumb drive icon underneath your Engine Library.

- Click the + button next to your thumb drive icon to show all your options and then highlight Playlist.

- Select your newly created playlist from your Engine Library and drag it down to your new Playlist icon on your thumb drive. At this point the Engine software will transfer all of your songs to your thumb drive.

- After your songs have been added to your thumb drive, you can now safely eject your thumb drive from your computer and then insert it into USB 1 or 2 on your MCX8000.
Using the Transferred Crates on the MCX8000
- Make sure either Channels 1 or 2 are switched on the Engine logo. This switch is located above your channels LEVEL knobs. Remember, only channels 1 and 2 will work in Engine standalone mode.

- Turn on your MCX8000, select your thumb drive from your screen and then push in your SELECT/LOAD knob which selects your thumb drive.

- Scroll down to Playlist and push in your SELECT/LOAD knob.

- Select your custom playlist by pushing in your SELECT/LOAD knob.

- Select the song that you wish to play next by pushing in your SELECT/LOAD knob.

- That's it! At this point you've loaded your song and you're good to go!

Further Technical Support
Whether you are a customer or dealer, if you already own a Denon DJ product, or if you just have pre-sales questions, the Denon DJ technical support team is available to help! Visit the link below to connect with any of the following support options: online community support, phone support, email support.
Was this article helpful?
That’s Great!
Thank you for your feedback
Sorry! We couldn't be helpful
Thank you for your feedback
Feedback sent
We appreciate your effort and will try to fix the article