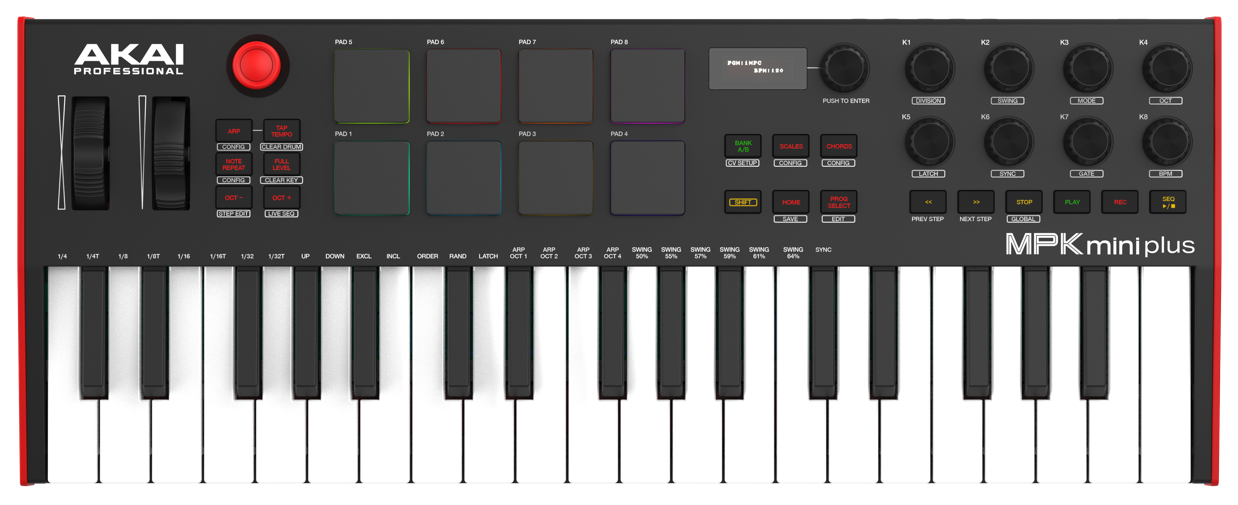
Akai MPK Mini Plus | Setting Up The Transport Buttons in MPC Beats
This guide will cover the simple steps to set up the MPK Mini Plus's transport buttons in MPC Beats.
TABLE OF CONTENTS
MIDI / Sync Settings
1. Launch MPC Beats, and go to Menu (≡) > Edit > Preferences

2. Click on the MIDI / Sync tab, and configure the MIDI ports as seen below:
Input Ports
MPK Mini Plus Port 1 (Control, Track - ON)
MPK Mini Plus Port 2 (Control, Track - ON)
Output Ports
MPK Mini Plus Port 1 (Sync, Track - ON)
MPK Mini Plus Port 2 (Sync, Track - ON)
Enable MIDI ports when discovered (ON)
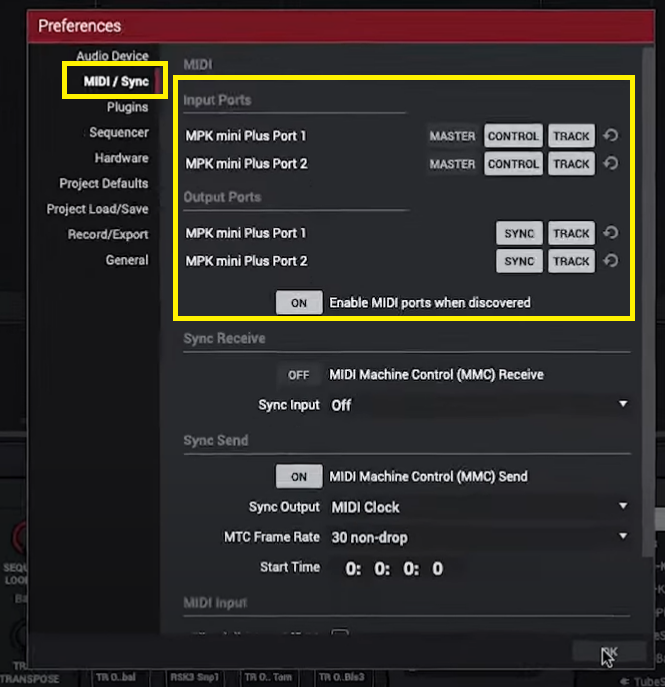
3. Click OK.
Mapping the Transport Buttons with MIDI Learn
1. Click on MIDI Learn (Bottom right side of the app)

2. Load the MPK Mini Plus mapping (Factory > Akai)
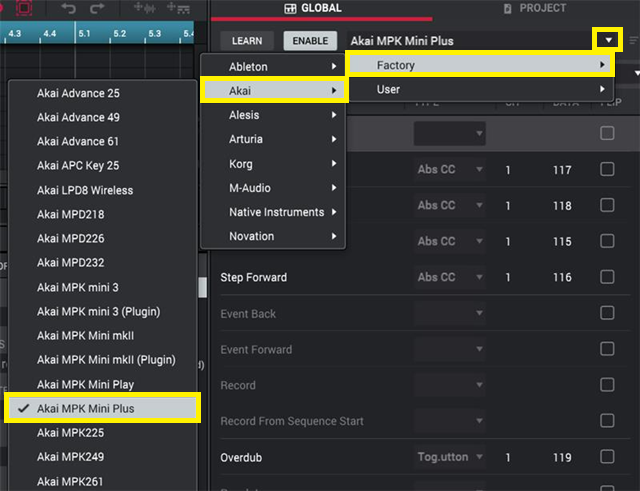
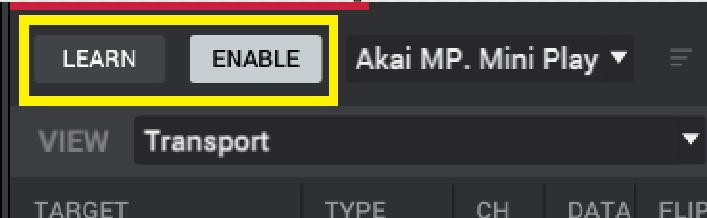
3. Click Transport, then click Learn
Note: Enable will also be activated

4. In the list - click Play, then press the Play button on the MPK mini Plus.
The Play button should appear with Type, Ch and Data values. The Play field should also be lit in white.
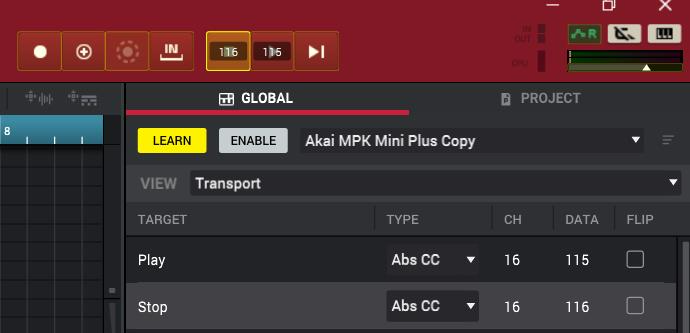
Apply the same steps for the other transport buttons.
5. Once you have mapped all transport buttons, Click Learn to deactivate this mode (dark grey)
6. Ensure Enable is lit in light grey. This ensures that the mapping is on and usable.
Your MPK Mini Plus's transport buttons should now be mapped for use in MPC Beats!
Was this article helpful?
That’s Great!
Thank you for your feedback
Sorry! We couldn't be helpful
Thank you for your feedback
Feedback sent
We appreciate your effort and will try to fix the article